Supplies needed:
beads (bird eggs are normally white or blue but any color will do) ( I love the shine from glass beads)
rope or hemp twine
glue gun or some form of strong glue
clothespin
craft tweezers
scissors
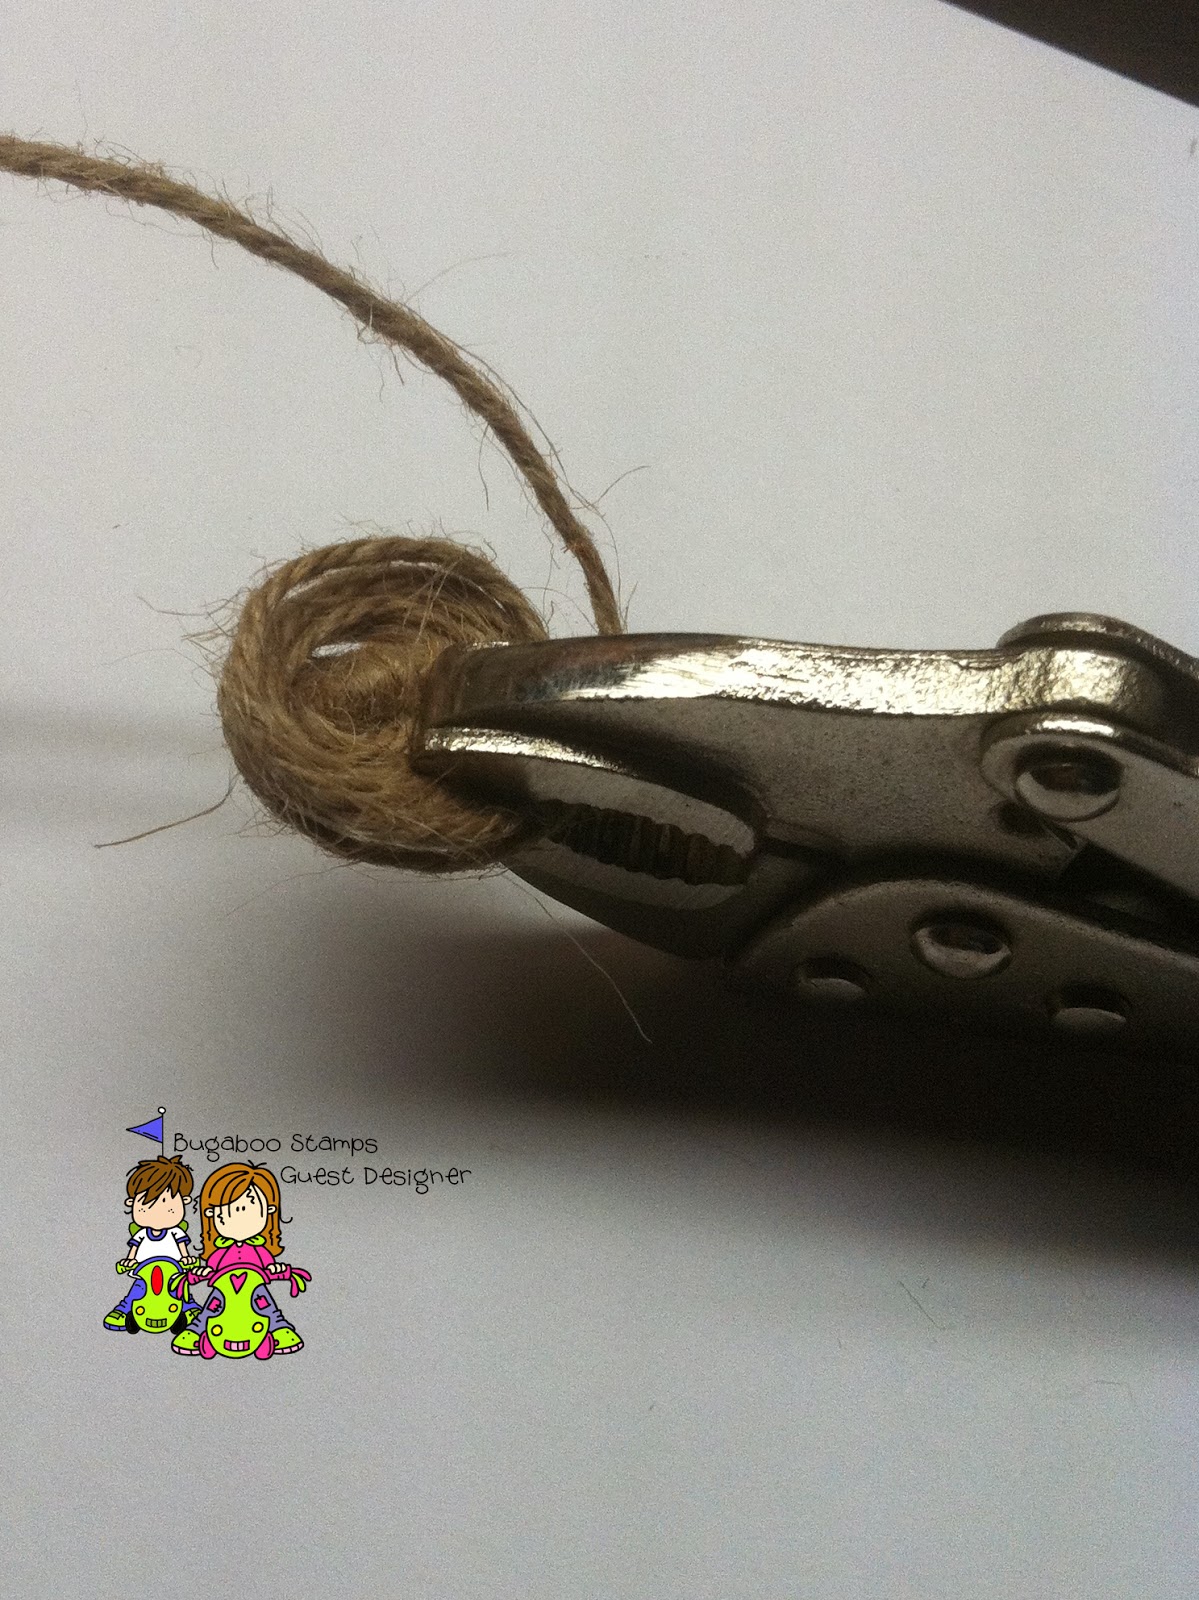
Once you have the knot you start rolling the twine around the knot to form a circle. The size depends on what type of project you are making and how big you want the nest. I have found my favorite size to be one inch in diameter. Once you have the nest to the size you want you use your clothespin to hold it together. I know this isn't a clothespin but I couldn't find mine. Basically, any tool that can hold it together will do.
Add glue to the back of the nest to hold it together. I have found that more glue is best. This little nests love to unravel without enough glue. You can leave the clothepin for a few minutes to let the glue dry.
Here is what your little nest will look like at this point!
Using tweezers and your glue gun, attached a few beads to the inside of the nest.
How
cute do they look all nestled in there? You can leave your nests to
look like this or you can cut another piece of the twine a few inches in
length to wrap around the top and bottom of the nest for the beads to
be a bit more secure. Although if you use enough glue, I don't think
this step is needed if you prefer the nests to look like this. Your
nests are done at this point and can be attached to your projects with
glue dots or your glue gun!
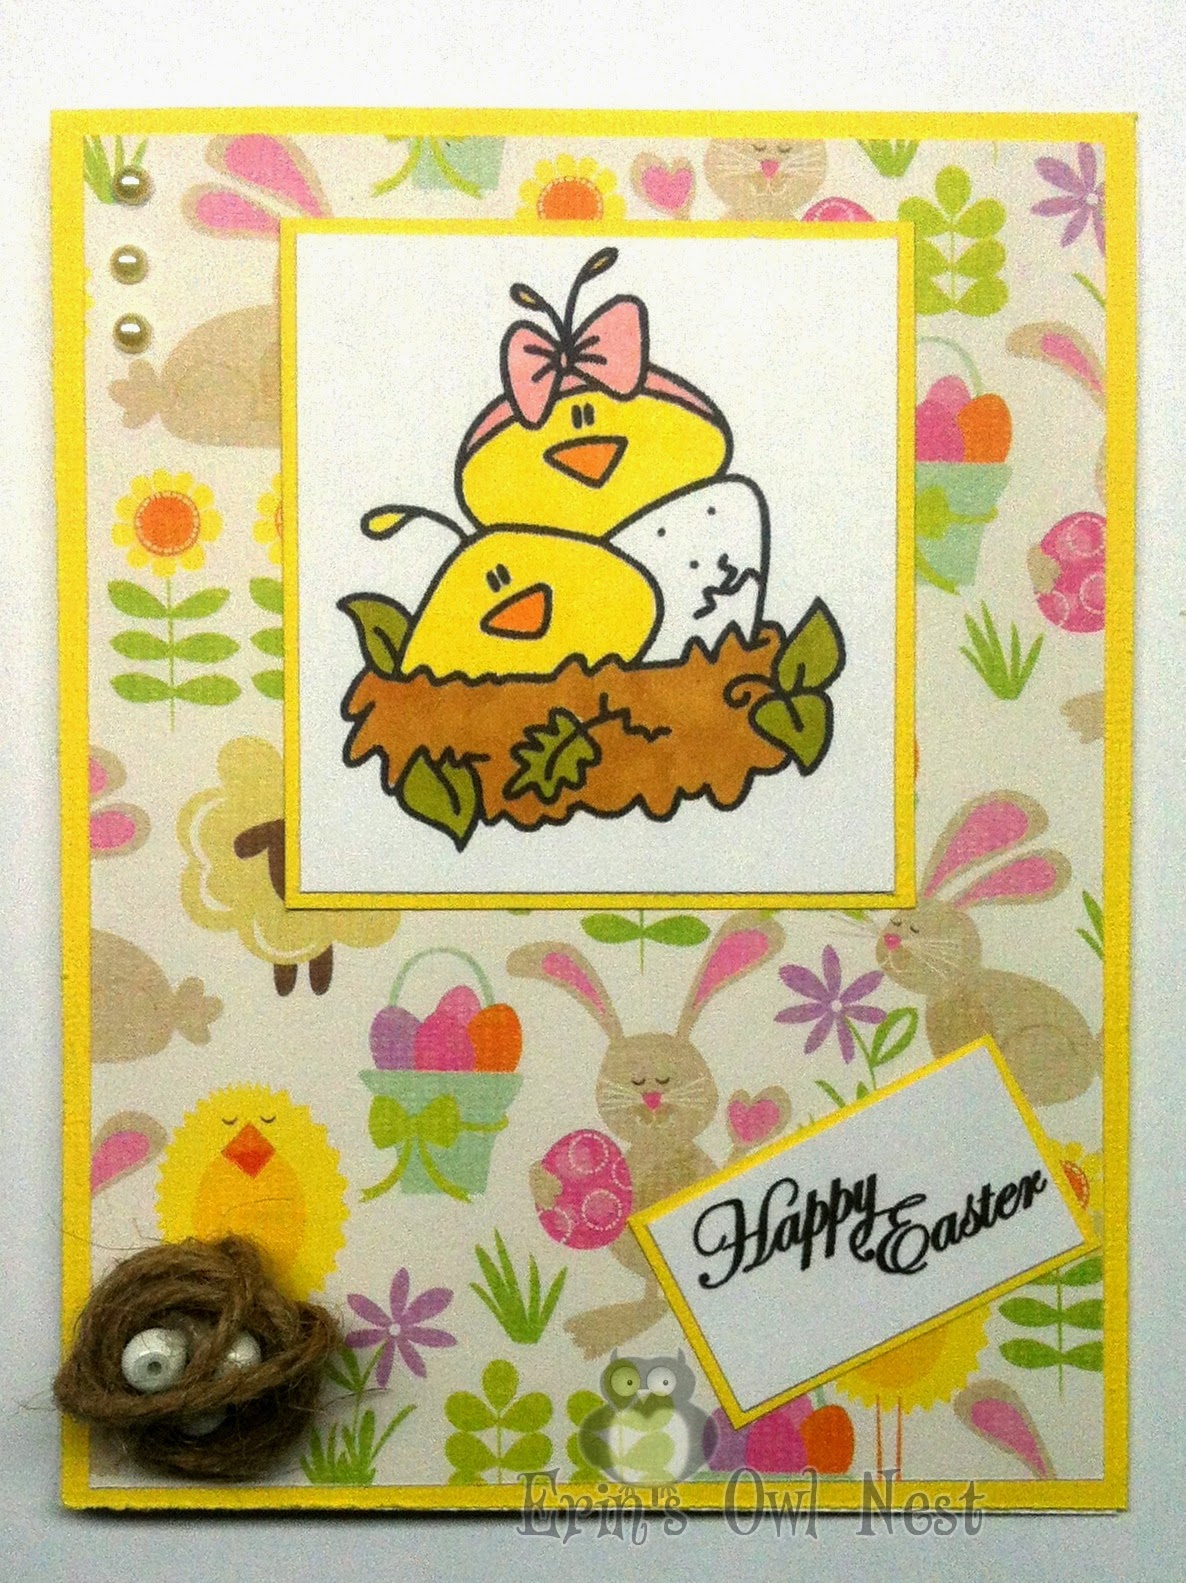
End result of your rope nest!
This is my last post as a guest designer for Catch the big! I have certainly enjoyed my time with the team
Hugs,
Erin
Entering in the following projects:
scrappy mom - hippity hop
digi choosday - wings
patties creations - easter


+copy.jpg)


